Computer Graphics
This course provides a comprehensive introduction to computer graphics modeling, animation, and rendering. Topics covered include basic image processing, geometric transformations, geometric modeling of curves and surfaces, animation, 3-D viewing, visibility algorithms, shading, and ray tracing.
Round-1-Start with OpenGLFor this project, we are required to familiarize ourselves with basic
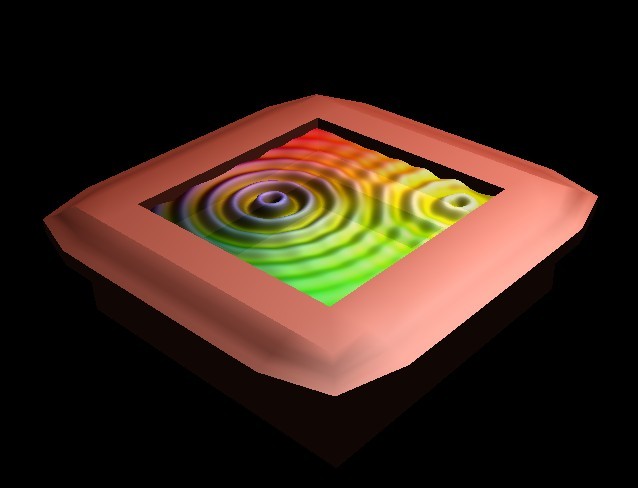
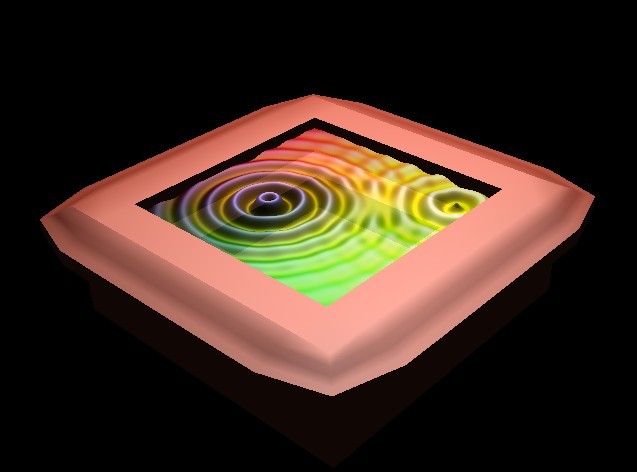
OpenGL concepts and real-time graphics programming. I implemented basic camera and lighting functionality, and render a 3D mesh and a heightmap. What else did I do?1. Use the ARROW_UP and ARROW_DOWN key to add and minus the resolution, when add the resolution, the image style looks perfect but the image get longer and longer stuck.
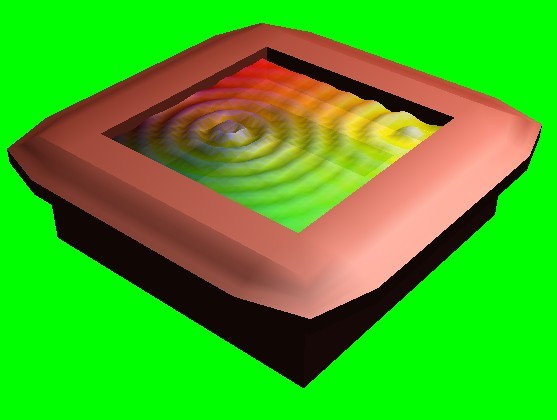
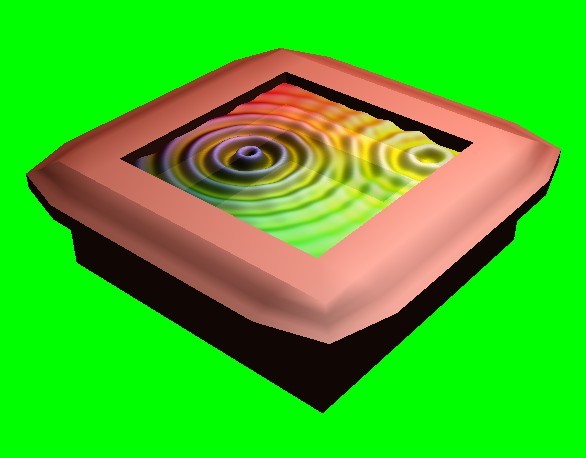
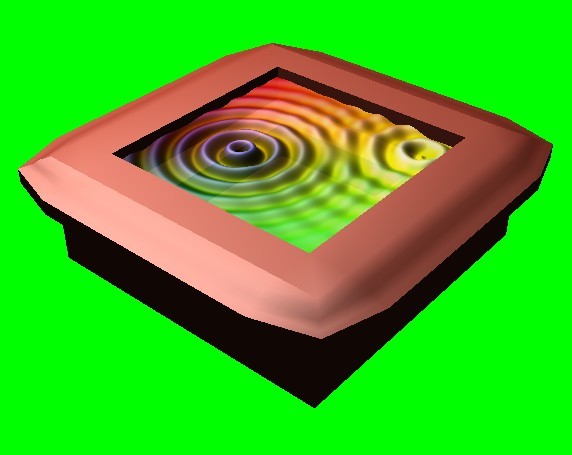
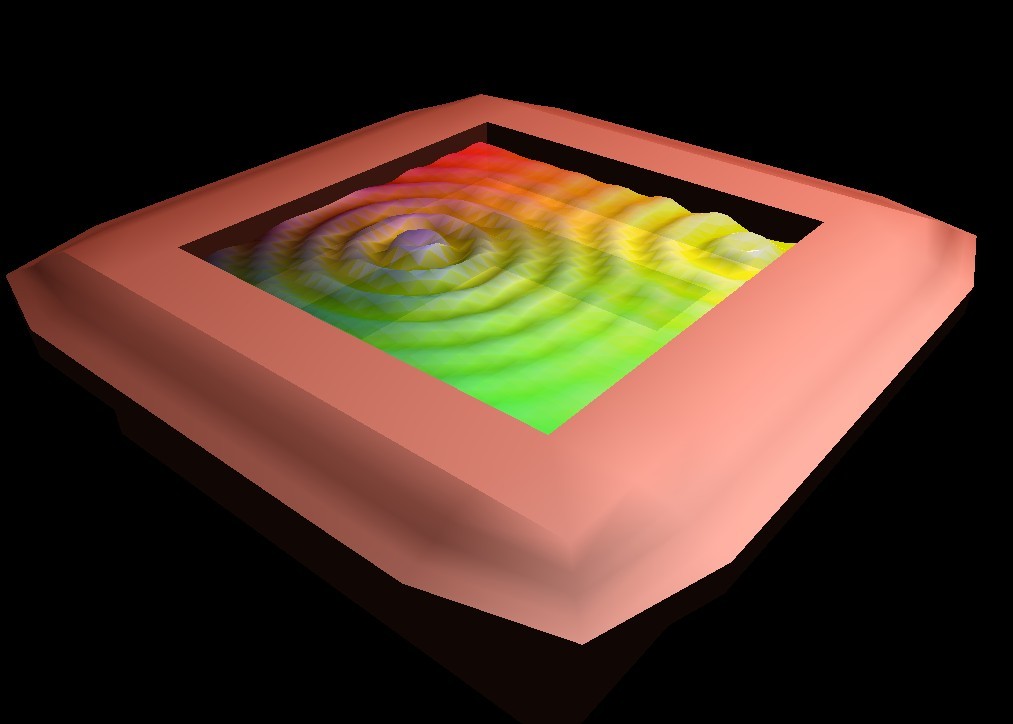
2. When shader the water , I color the triangle based on the height and the position of x and z, so I get the water like a rainbow, which looks more beautiful. 3. I use the glEnable(GL_BLEND) to enable the water looks a little transparent, and you can see the bottom of the mash through the water because I think water is supposed to be transparent. 4. I made the light rotate through every frame, so looks like a moving light, looks cool. 5. Add some basic instructions on the screen |
Video for Project 1 |
Other Screen Shots
Round-2-Mesh SubdivisionIn this project, we are required to implement texture mapping and to learn and implement a subdivision algorithm. Specifically, we used the loop subdivison algorithm. I added code to texture map meshes and method which will subdivide the mesh and modify the mesh I am rending accordingly.
What else did I do?1. To all the mesh,before evertime being edit, I unified the mesh into (-1,-1,-1)to (1, 1, 1). So all the mesh will looks in the same area, no need to adjust by moving the camera.
2. Finish the modified butterfly scheme. After done with the loop scheme I also finish the butterfly scheme, because I already have all the relationships between vertexes, triangles, and edges, so it's easy to apply. And add the key "b" to this scheme function. 3. I change the basic meshdata into a vector<meshdata> so I can load all the models at the same time. No need to change the filename in the main function time by time. 4. Save all the original data to a vector, so I can change the mesh back to the first situation without restarting the program again. 5. Add some key funtion, "Arrow_right" to change to the next mesh, "Arrow_left" to change to the previous mesh, "Space" to set the mesh back to the very beginning, "b" to apply the buuterfly scheme. It's very easy to use. 6. Rotate the mesh by time, so the model rotate. Looks cool. 7. I made the light rotate through every frame, so looks like a moving light, looks cool. 8. Add some basic instructions on the screen |
Video for project 2 |
Round-3-GLSLIn this lab I learned about shader programming. The lab consists of rendering a scene, similar to previous labs, using OpenGL. However, in this lab I rendered a new effect that requires shader programming. Specifically, I rendered the outlines of the objects in the scene, which is done using a multi-pass rendering method and shaders. This lab requires a firm understanding of OpenGL textures and the OpenGL
Shader Language (GLSL). I got the first place for this project and it's available on the class's website: http://www.cs.cmu.edu/afs/cs/academic/class/15462-s11/www/ What else did I do?use the left arrow and the right arrow button to change to the other 4 effects I made which are:
1. the radio blur: to caculate the sounding texture of the scene, especially the radio line and give them the different weight value. 2. the embossment effect, which is set the background as gray and calculate the difference between of the up-left point as height and merch to the background 3. noise effect: which I use a outer noise map the the random movement of the texture coordination as the original point's color, I also find there is someway to create noise map by coding which is to complex and the noise function in shader is not the one we want. 4.mosaic effect: the easiest one, just merge all the sounding color as the same one. |
Screen shots for this project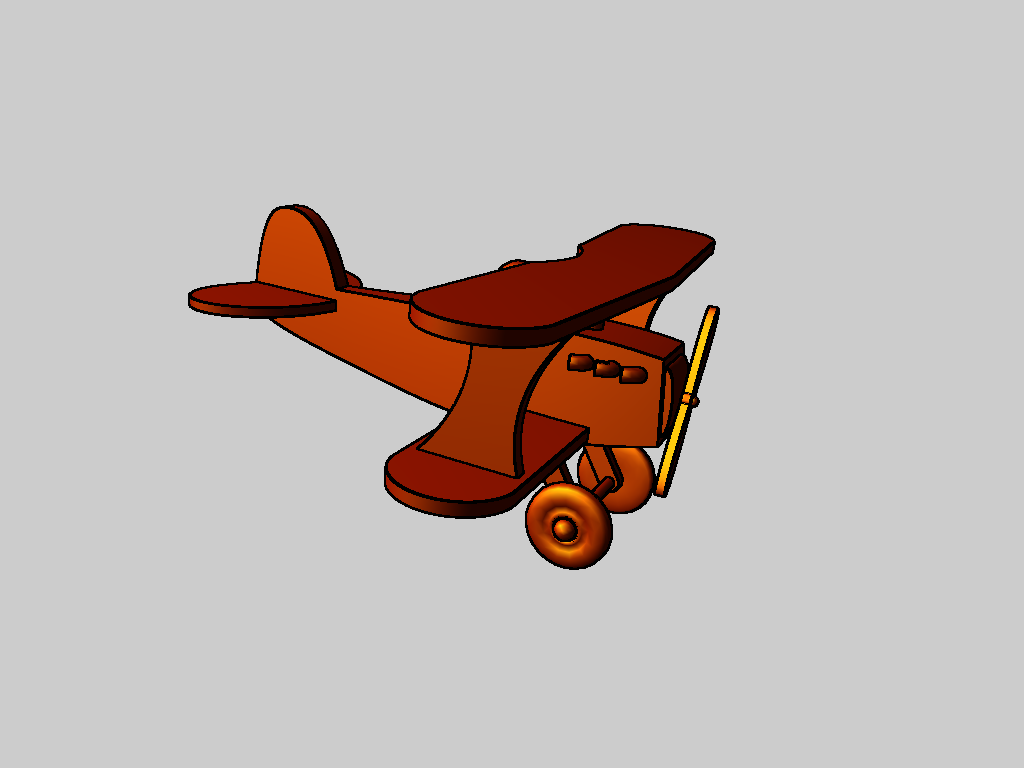 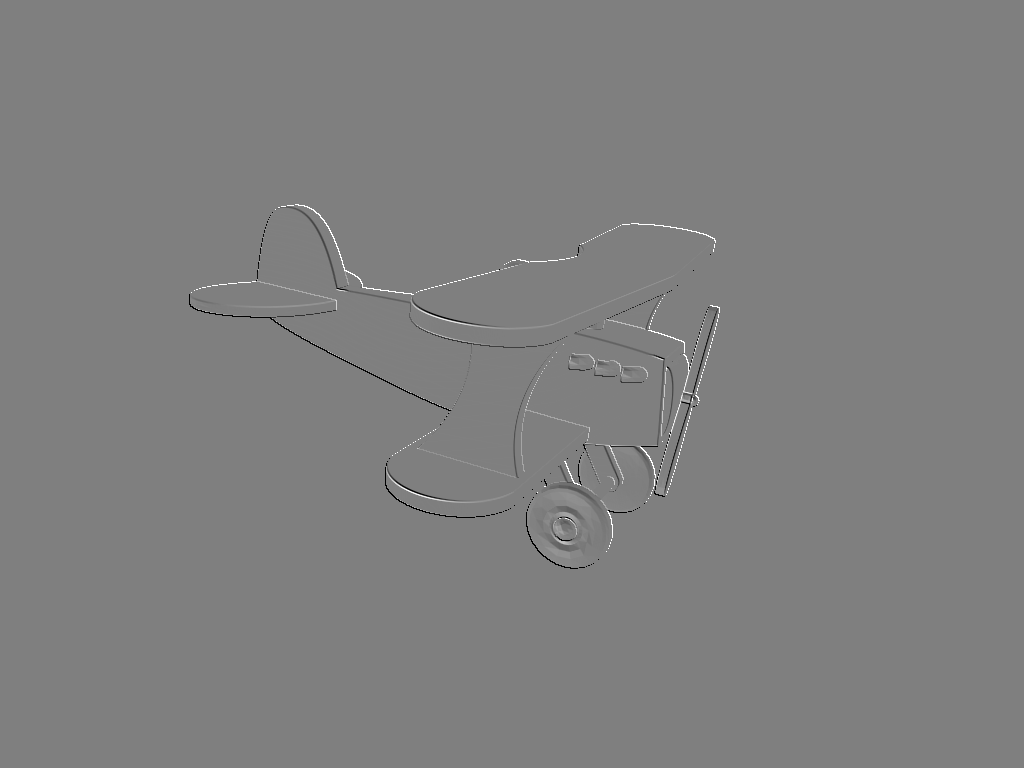 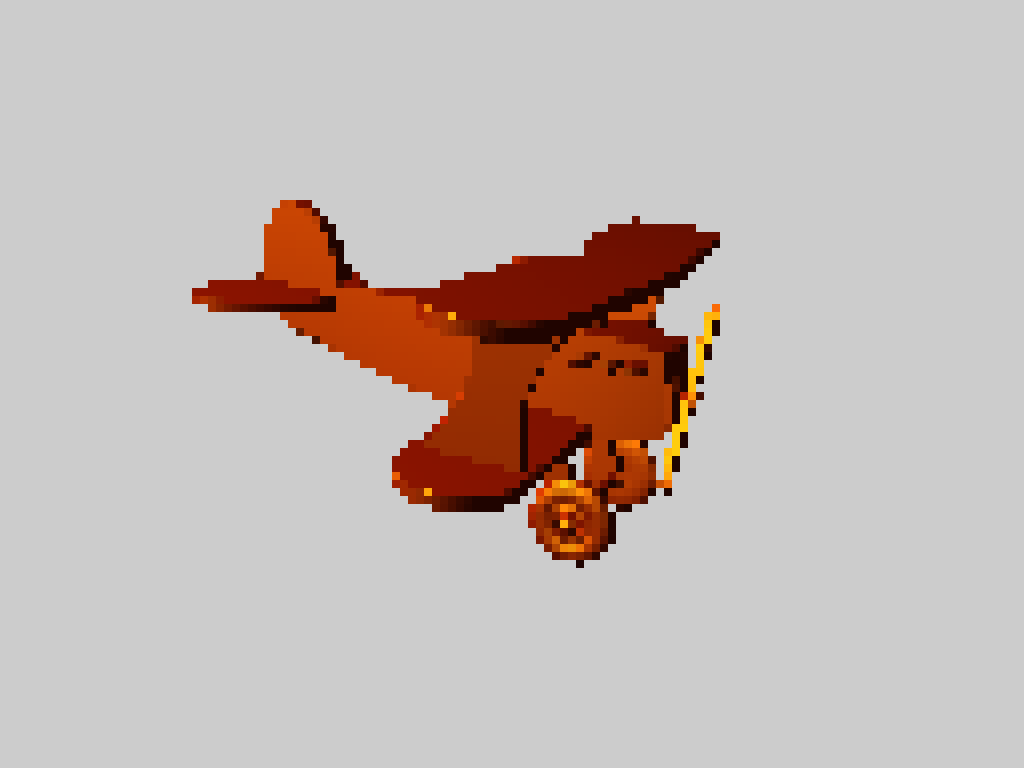 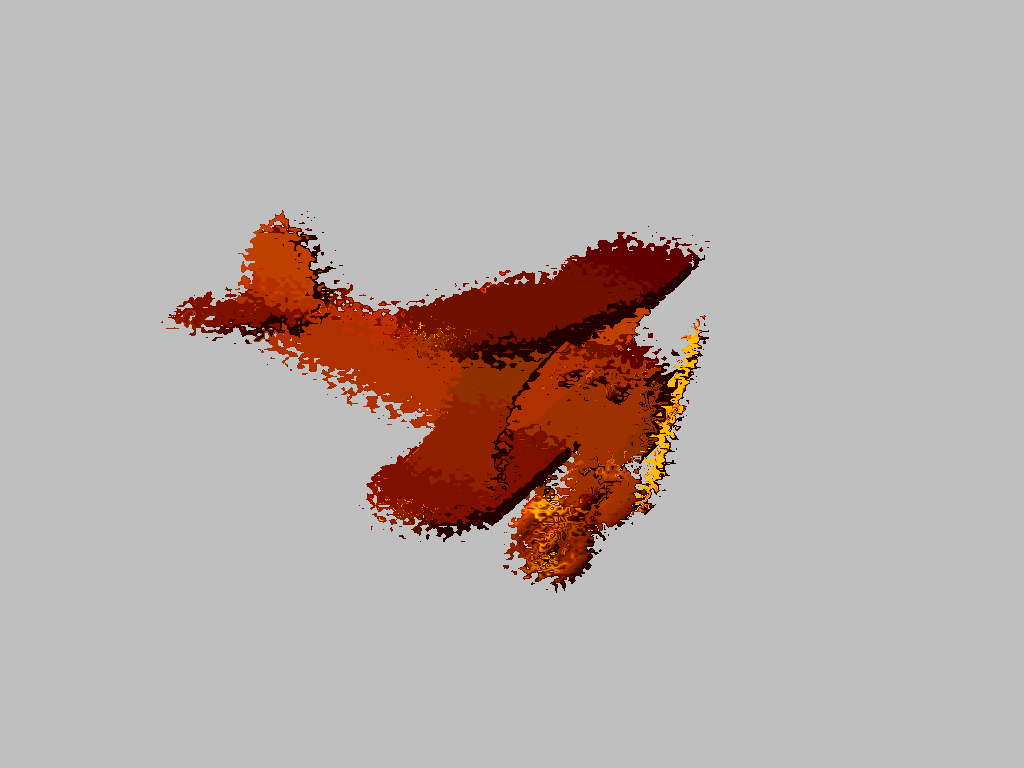 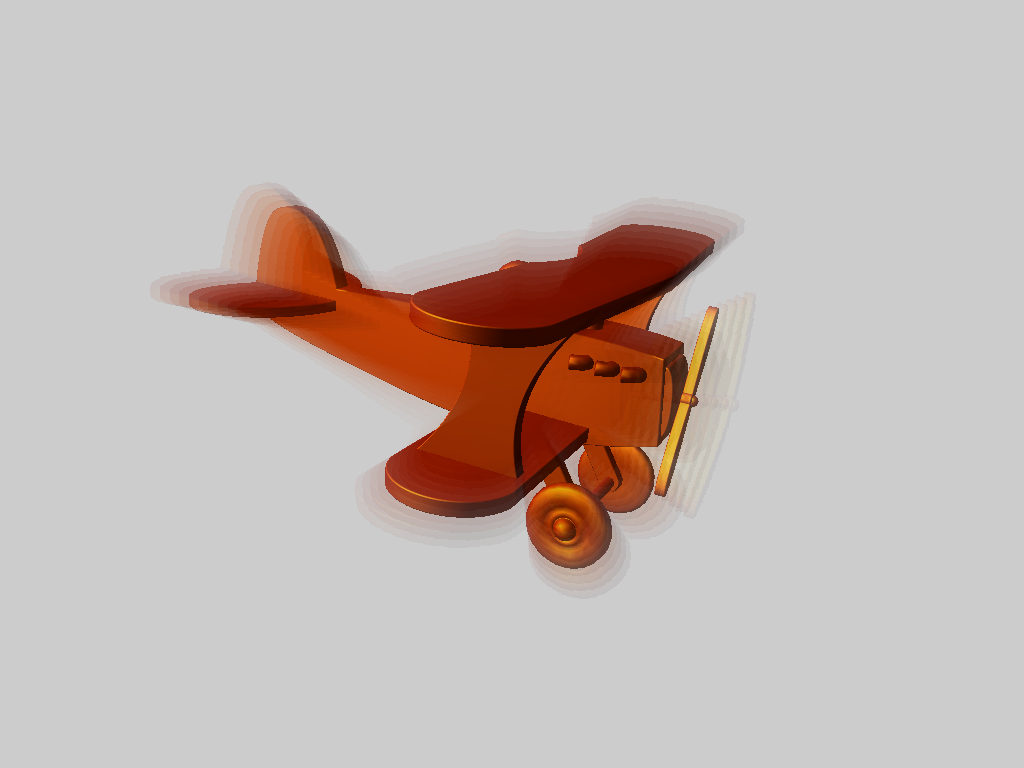 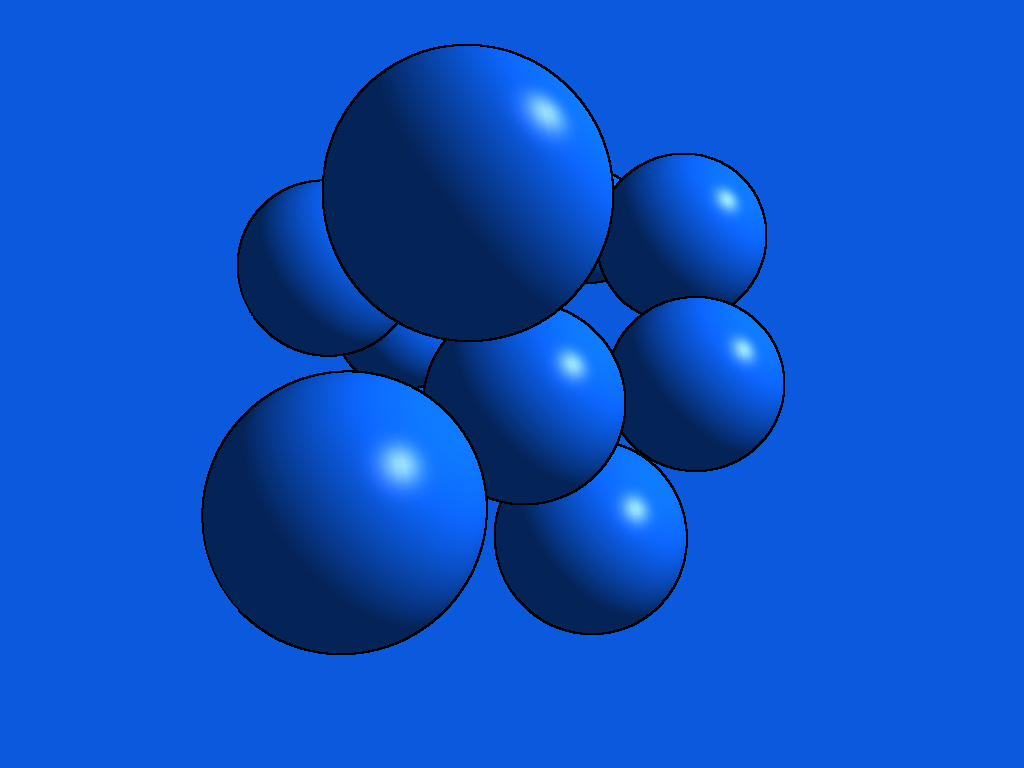 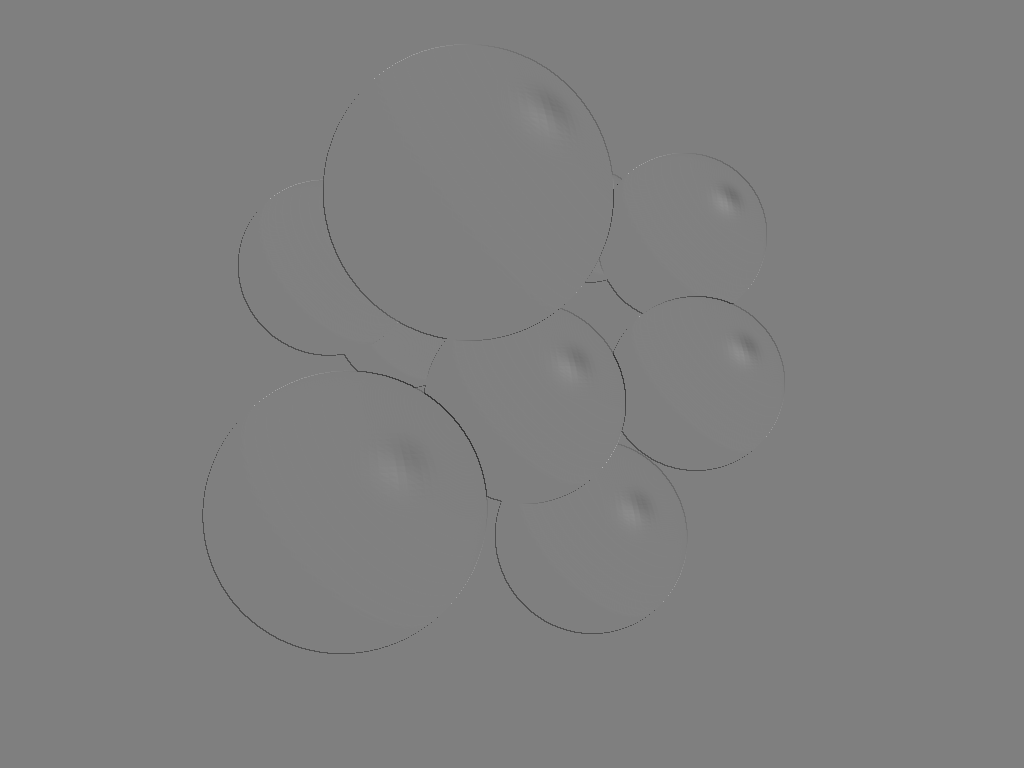  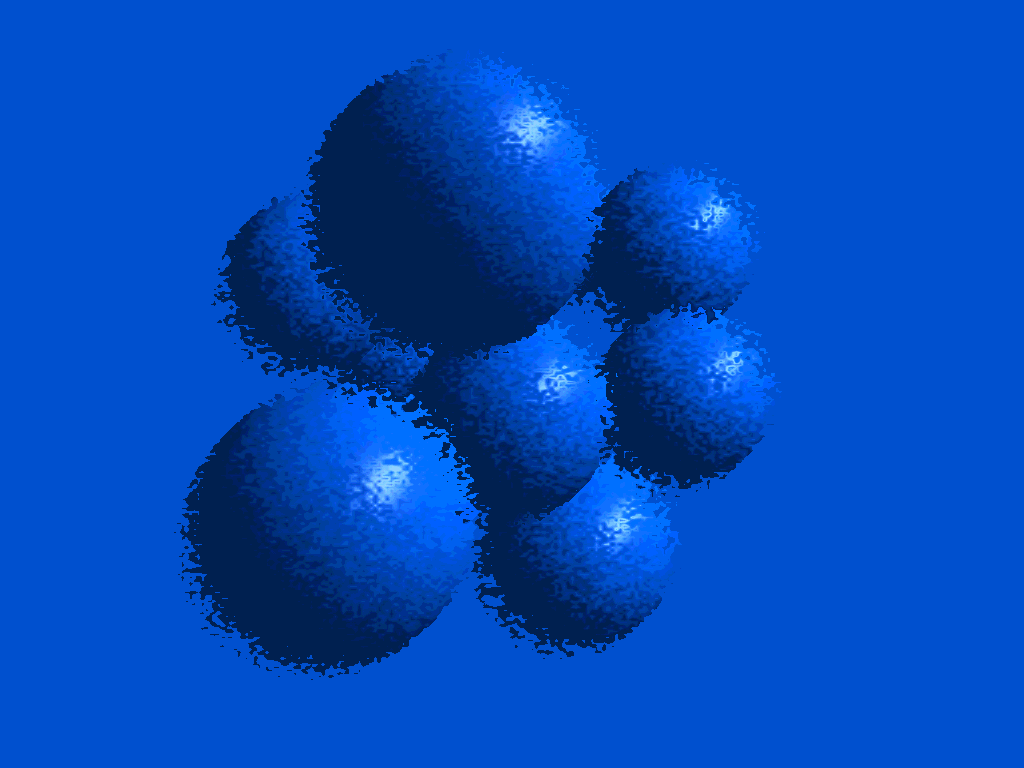  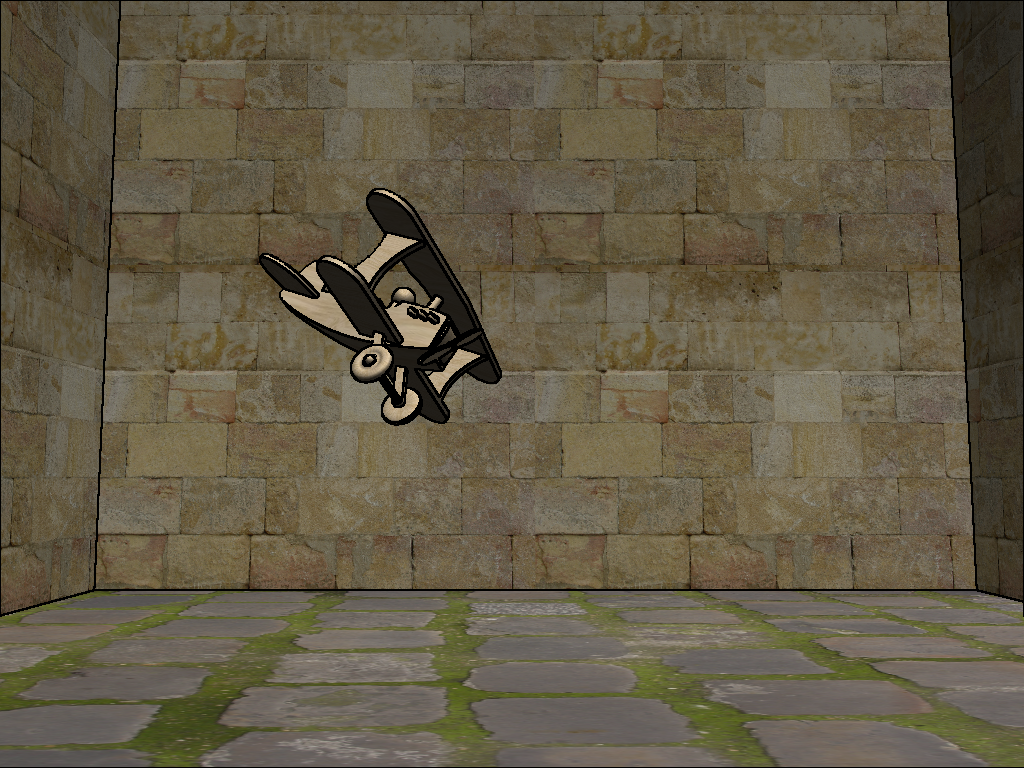 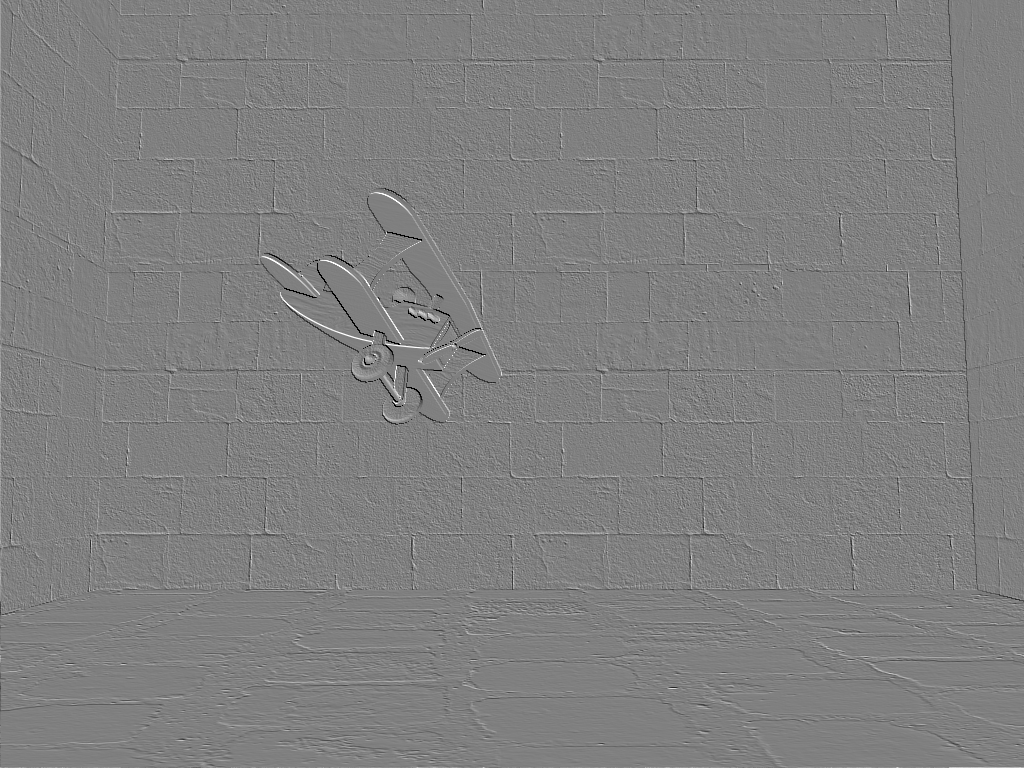 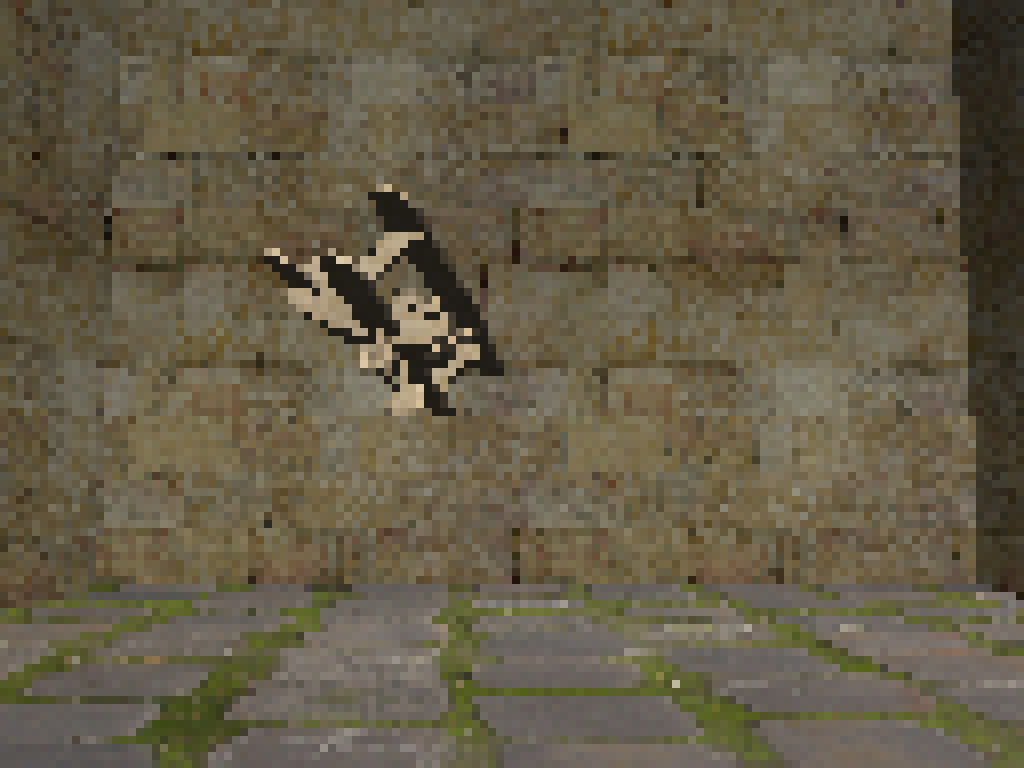 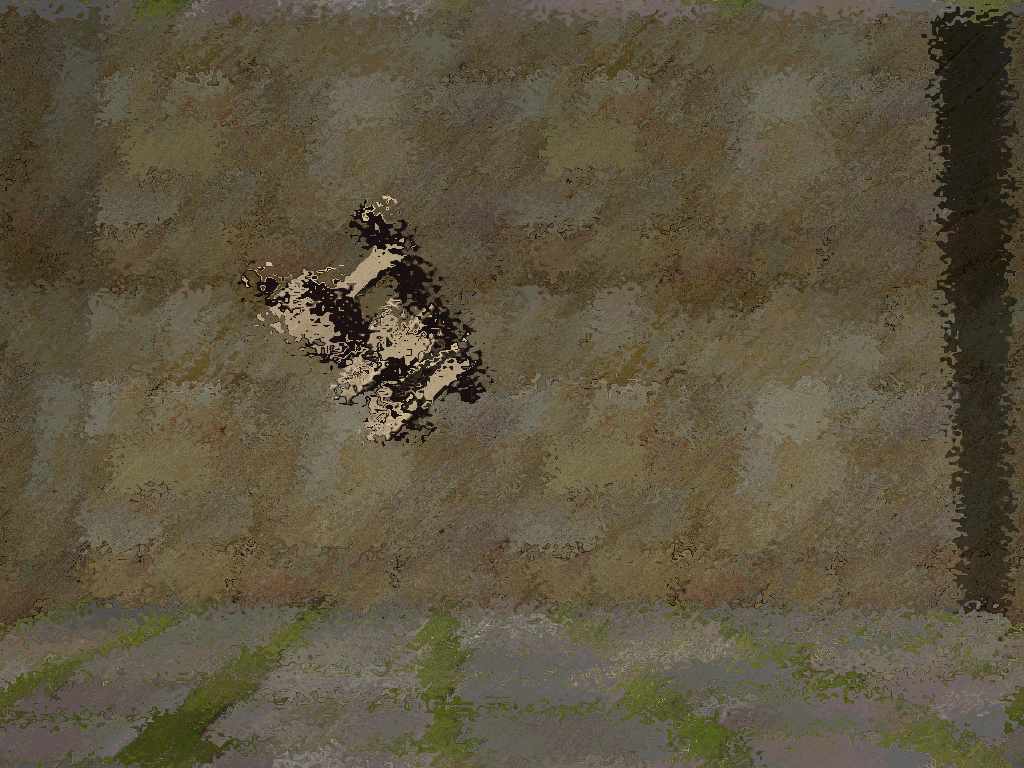 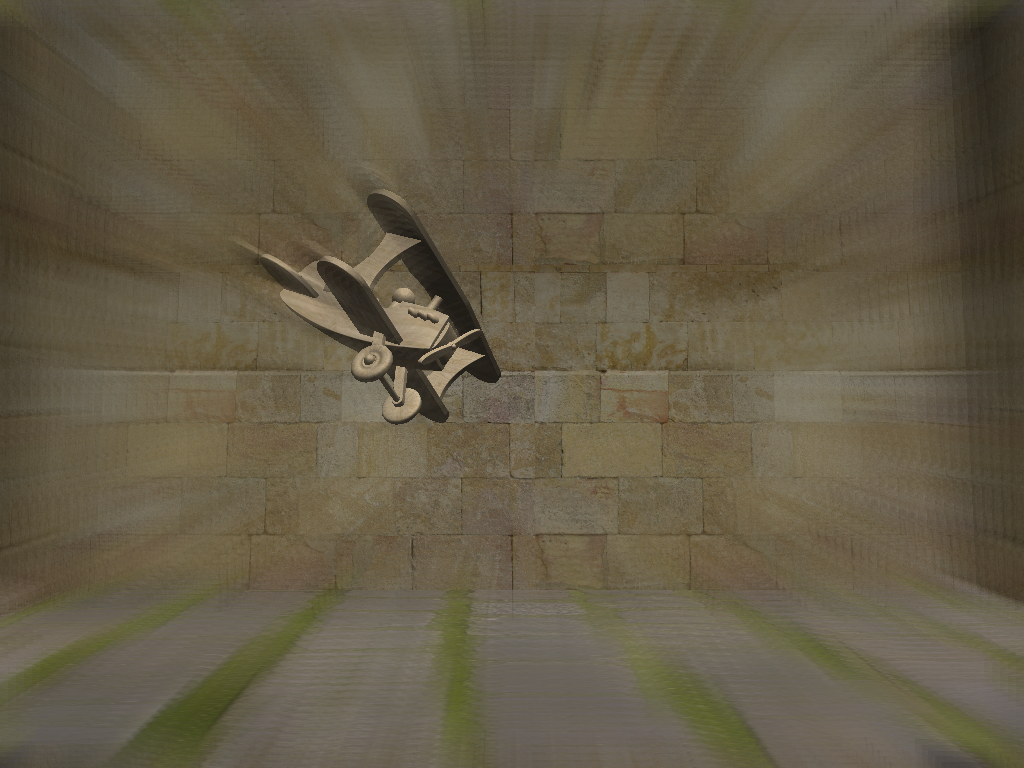 |
Round-4-Ray TracingFor this project, we moved away from OpenGL (huzzah!) and
implemented a basic ray tracer that can handle shadows, reflections and refractions. All rendering is done with software, only using OpenGL to display the final image to the screen . This assignment was far more code intensive than the previous. What else did I do?1. use the area rather the matrix to calculate the alpha beta and gamma to the triangle because it's more easy and more accurate because this way has less operation so the loss of the data will be less.
2. to some of the scene I add the sky sphere, so the render effect is very beautiful 3. I use the super sampling way to achieve the aliasing which is sapmling 9 points around on pixel of the screen and average them, it's much better looking. and Press "t" to render in this way 4. I set up a focus plane then set the ray, which meet two points, one is on the srceen the other is on the focus plane, then ramdomly set rays around the screen point to the focus plane point to careate the depth of field effect, and press the "y" to render in this way,btw, the best effcet will appear for the "cube.scene" and "stacks.scene" 5. I set up some ramdom move around the light source to careate the soft shadow effect. Press the key "u" to render in this way. 6. Because of the time, I did't create any "tree" structure, I just create a bounding sphere for every model geometry, but it's still very obvious to render fast. |
Screen shots for this project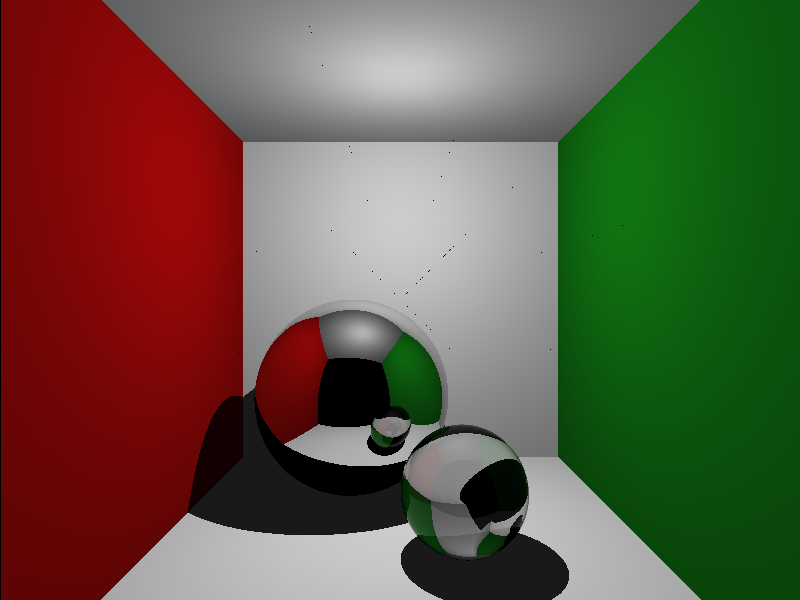 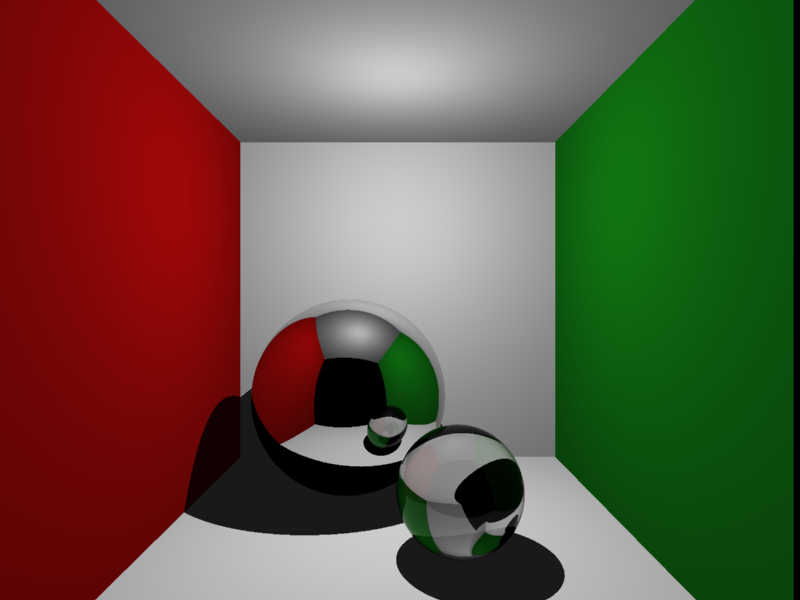 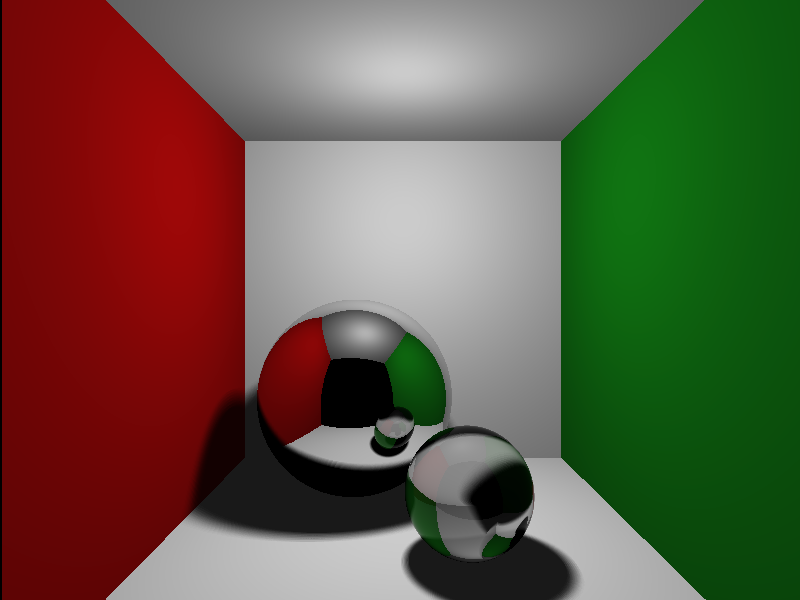  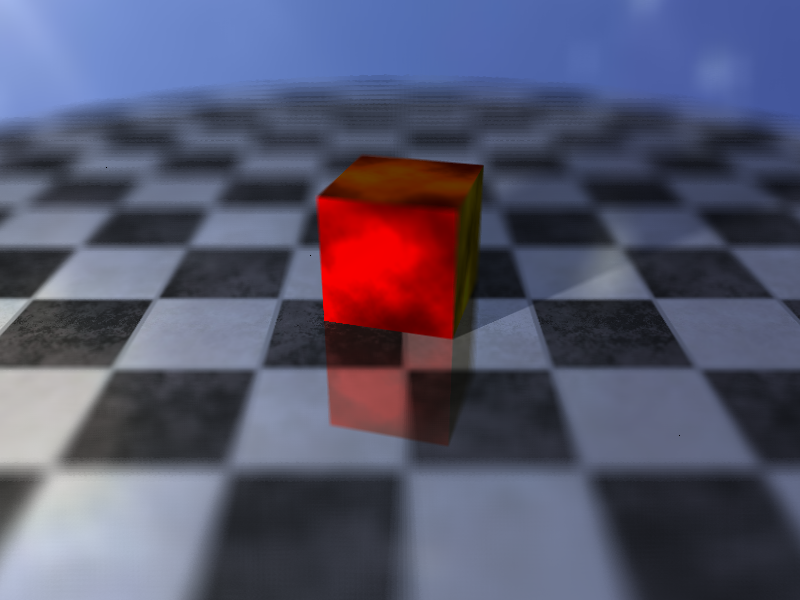 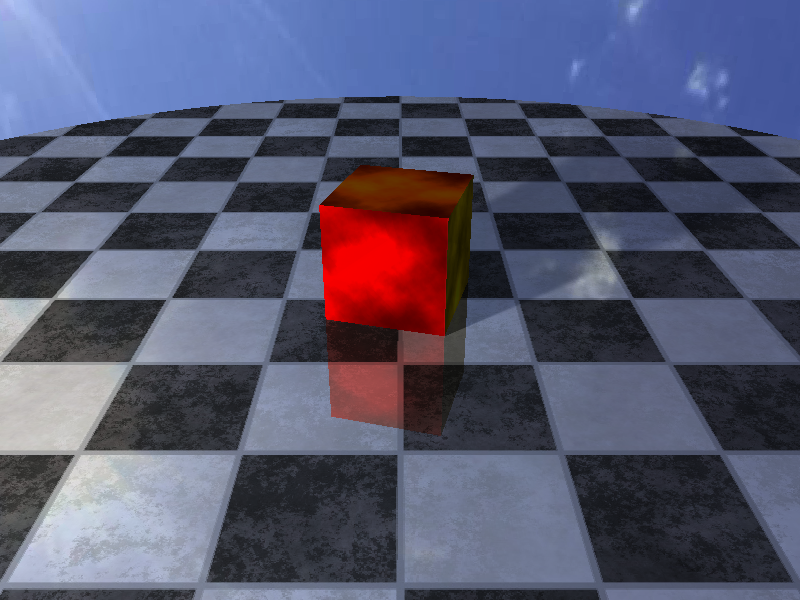  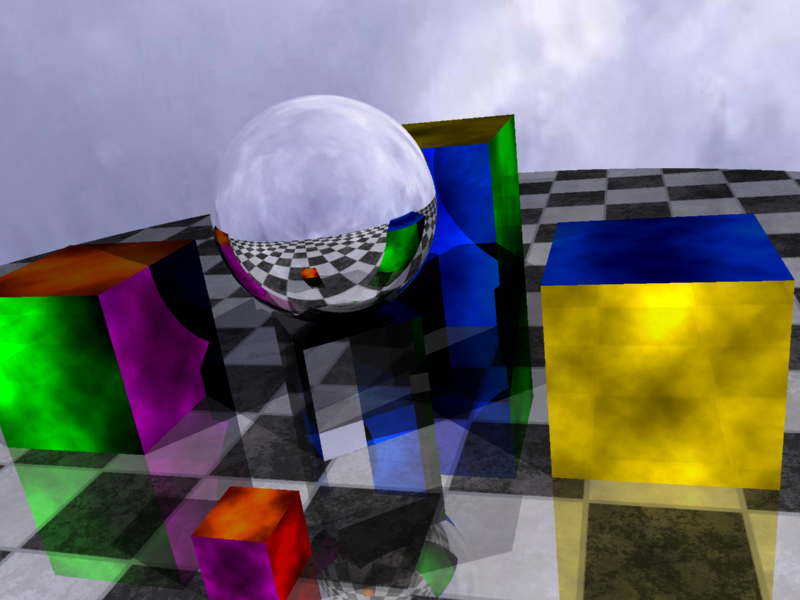 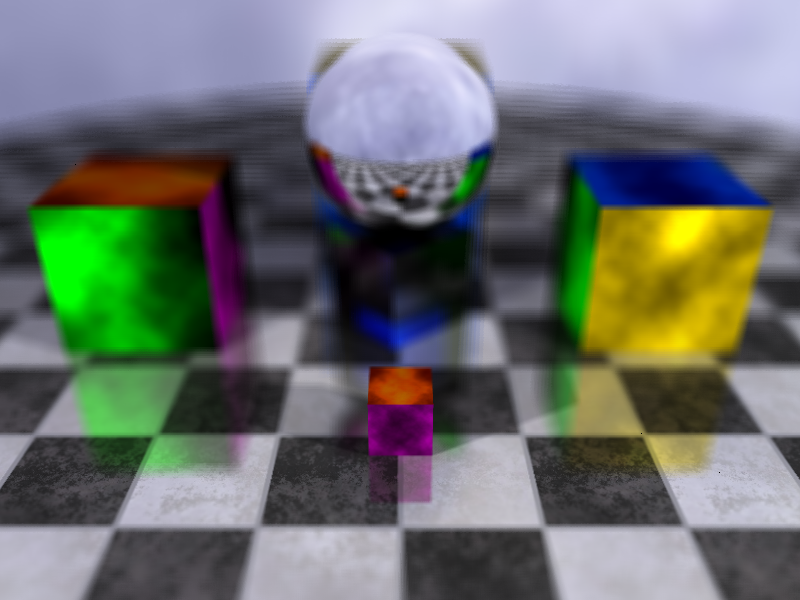 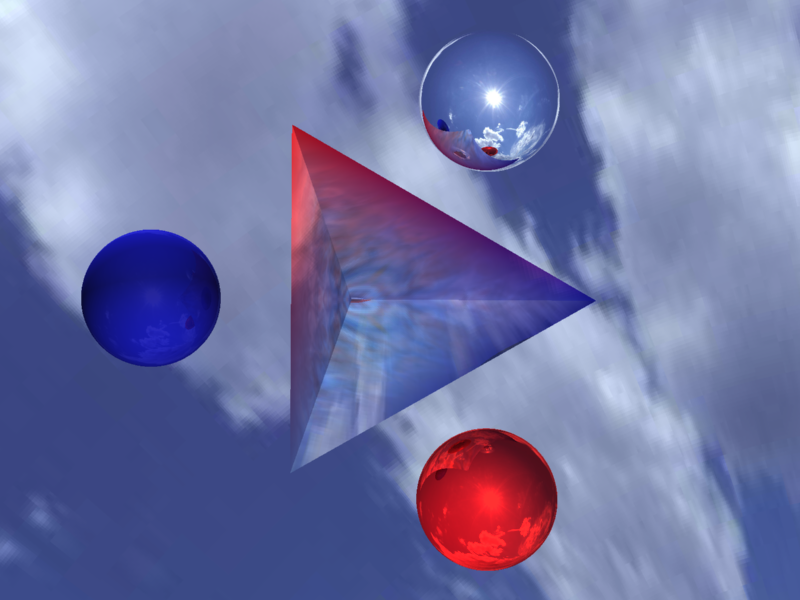 |
Round-5-BoidsIn this lab, I learned about flocking behavior and animation. The project consists of writing an interactive application. The application will focus on a flocking algorithm implemented with a particle system. Rendering will be done with OpenGL.
What else did I do?1. I creat two groups, one is red , the other is blue, and they can keep distance from each other. find the closest boid based on the group id and the boid id, and keep a distance with it.
2. obstacle avoiding, find the closest obstacle and use a inverse function calculate the force, which means, the closer the bigger force. 3. I use self made model and texture so the scene is very beautiful |
Video for this project |
Note:
Because the class will continue for the next year, so I cannot offer the source code here. If you are interested in this, email me please.
